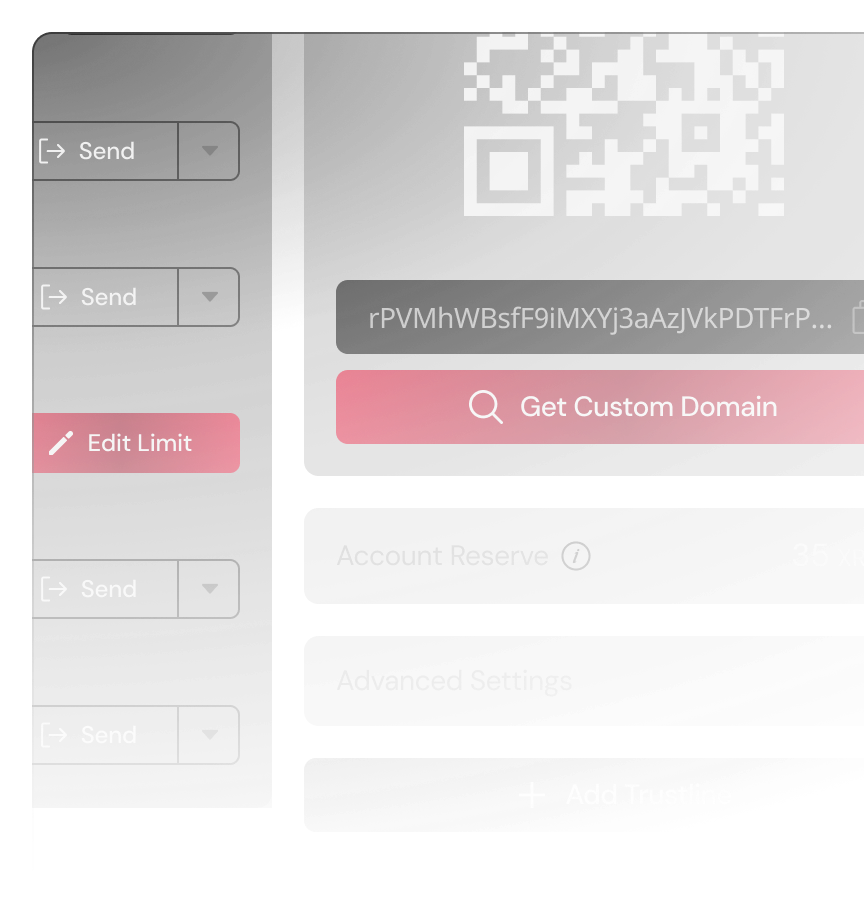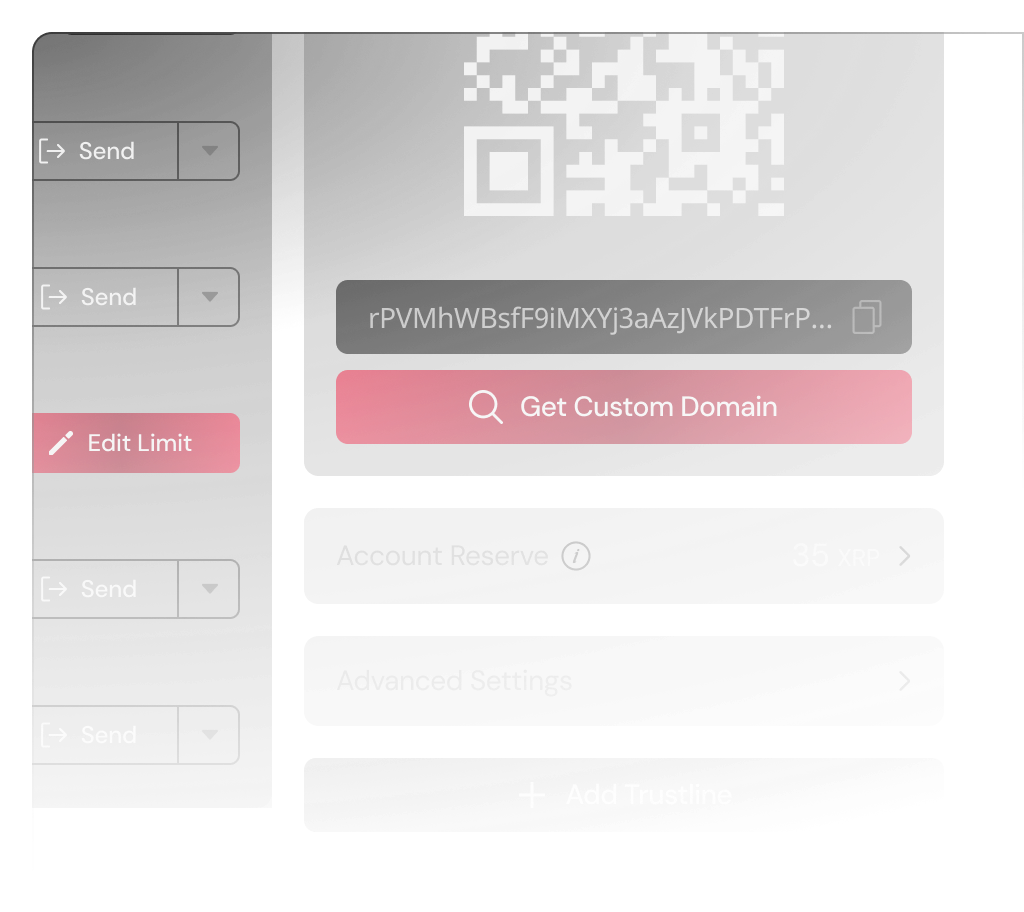
Decentralized Exchange on the XRP Ledger
A comprehensive guide to set up your SOLO DEX wallet, add new assets and start trading crypto on Sologenic DEX.
Activate your SOLO Wallet
- Create new wallet on SOLO DEX
- Fund wallet
- Activate wallet
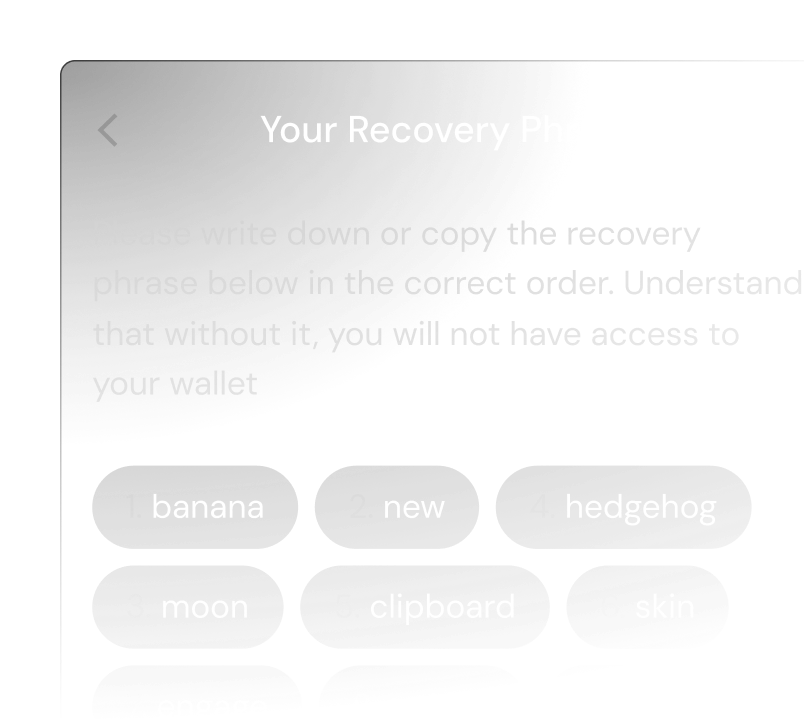
Follow the instruction by write down or copy the recovery phrase in the correct order. Understand that without it, you will not have access to your wallet
Once you have created your wallet, you need to fund it with the XRPL minimum reserve (10 XRP) in order to activate it. You can transfer tokens from a private wallet or buy them with fiat through our 3rd party services (Banxa, Topper).
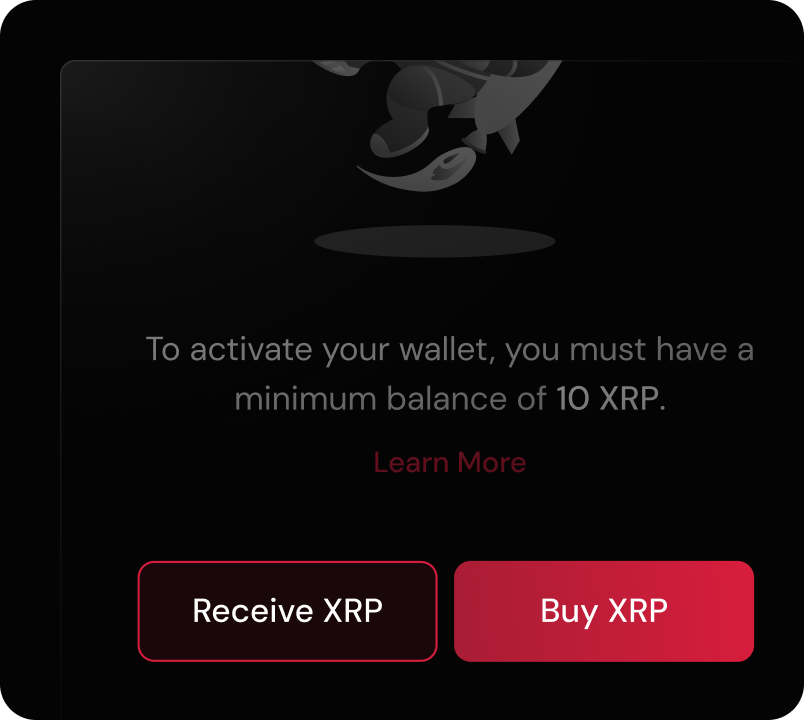
Once tokens are received, your wallet will be automatically activated. Simply select ‘SOLO’ on the asset page and press the "Activate" button.
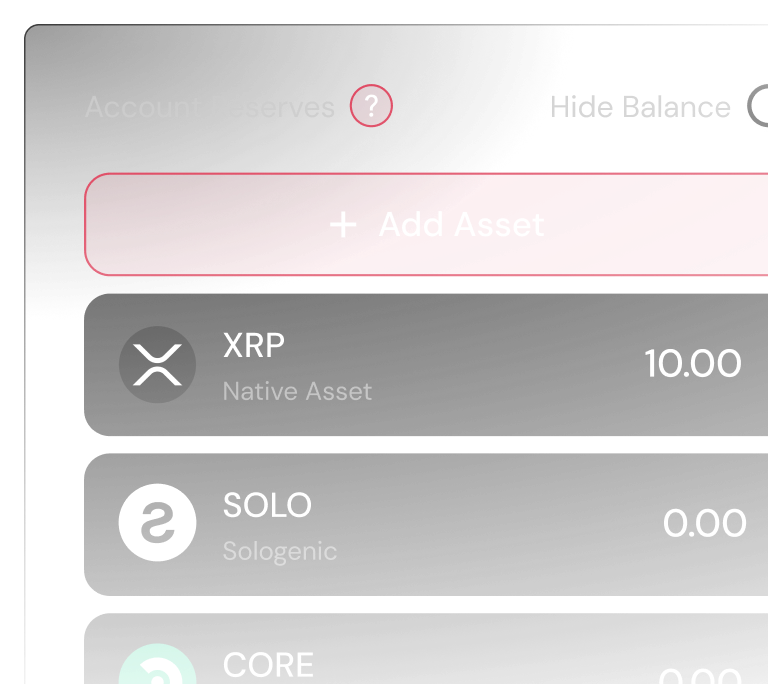
Add another asset (token) to an account
In order to add new assets, you need a minimum amount of 10 XRP in the reserve and 2 XRP for any additional asset.Add another asset (token) to an a account
In order to add new assets, you need a minimum amount of 10 XRP in the reserve and 2 XRP for any additional asset.
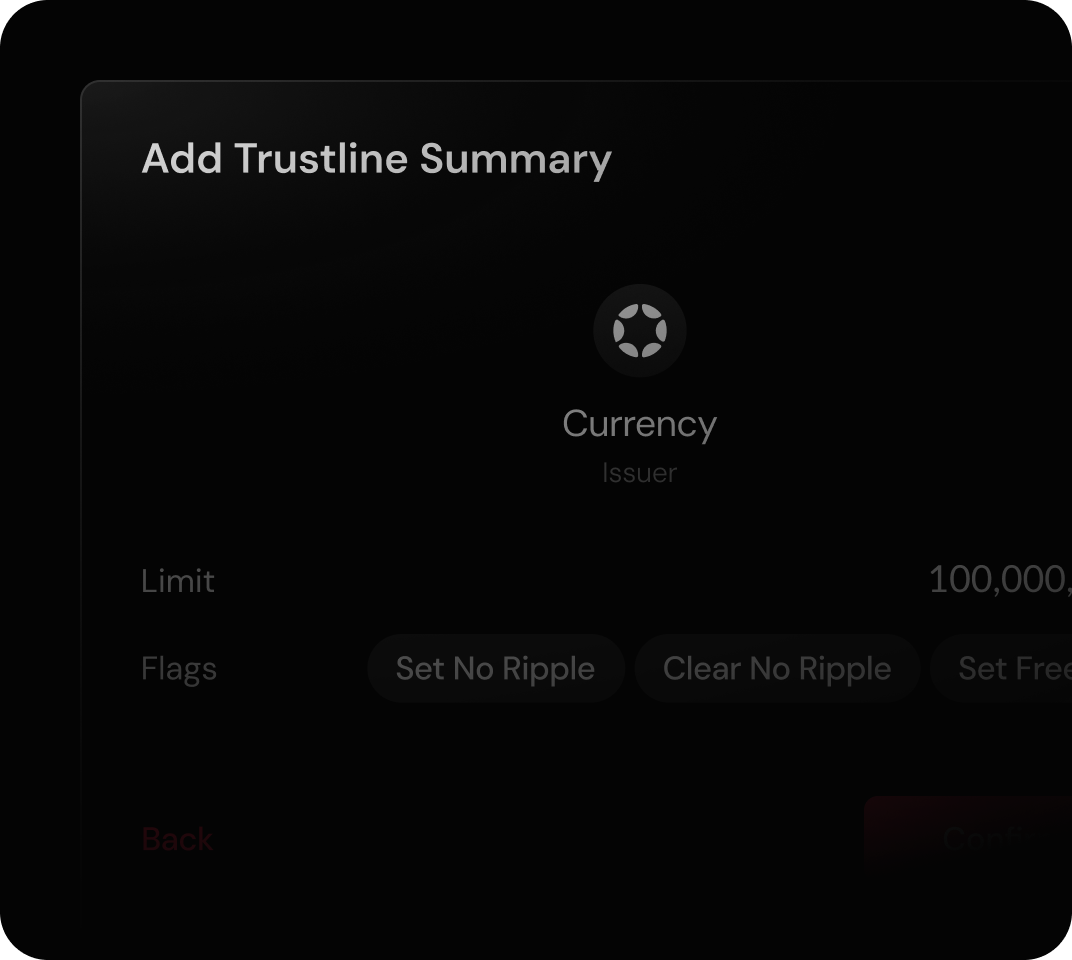
- Add Trustline
- Fill out information
- Confirm details
On the Account overview page, under “Wallet” tab, click on the “Add Trustline” button
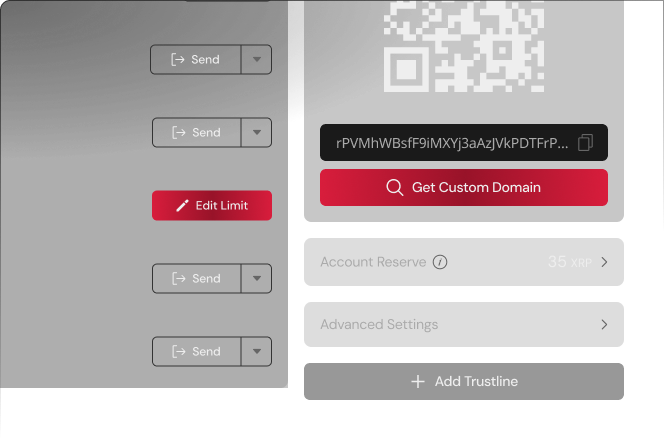
Choose assets from Sologenic or other known issuers. For custom ones, fill out the token information manually.
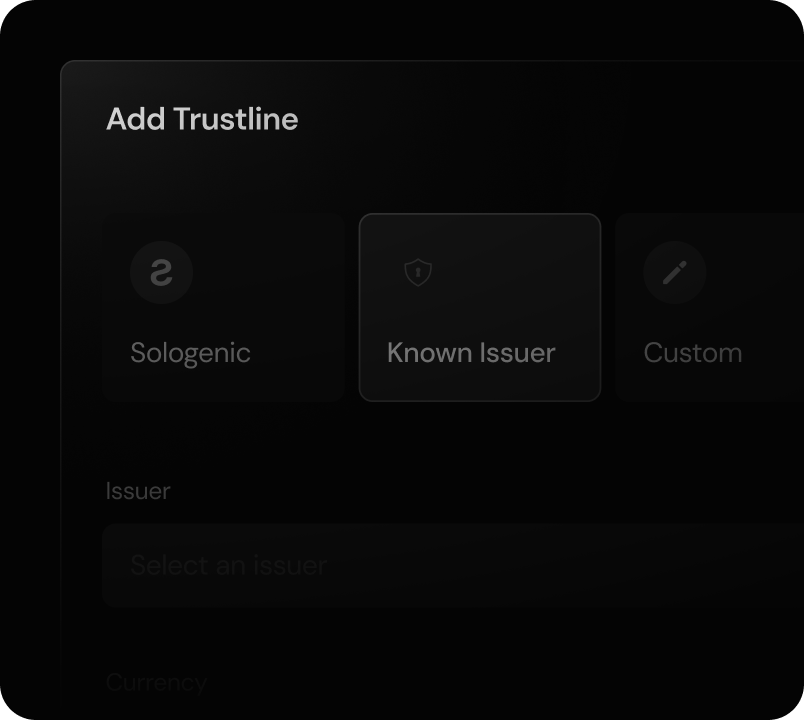
Make sure all details match the custom token information and proceed to confirm.
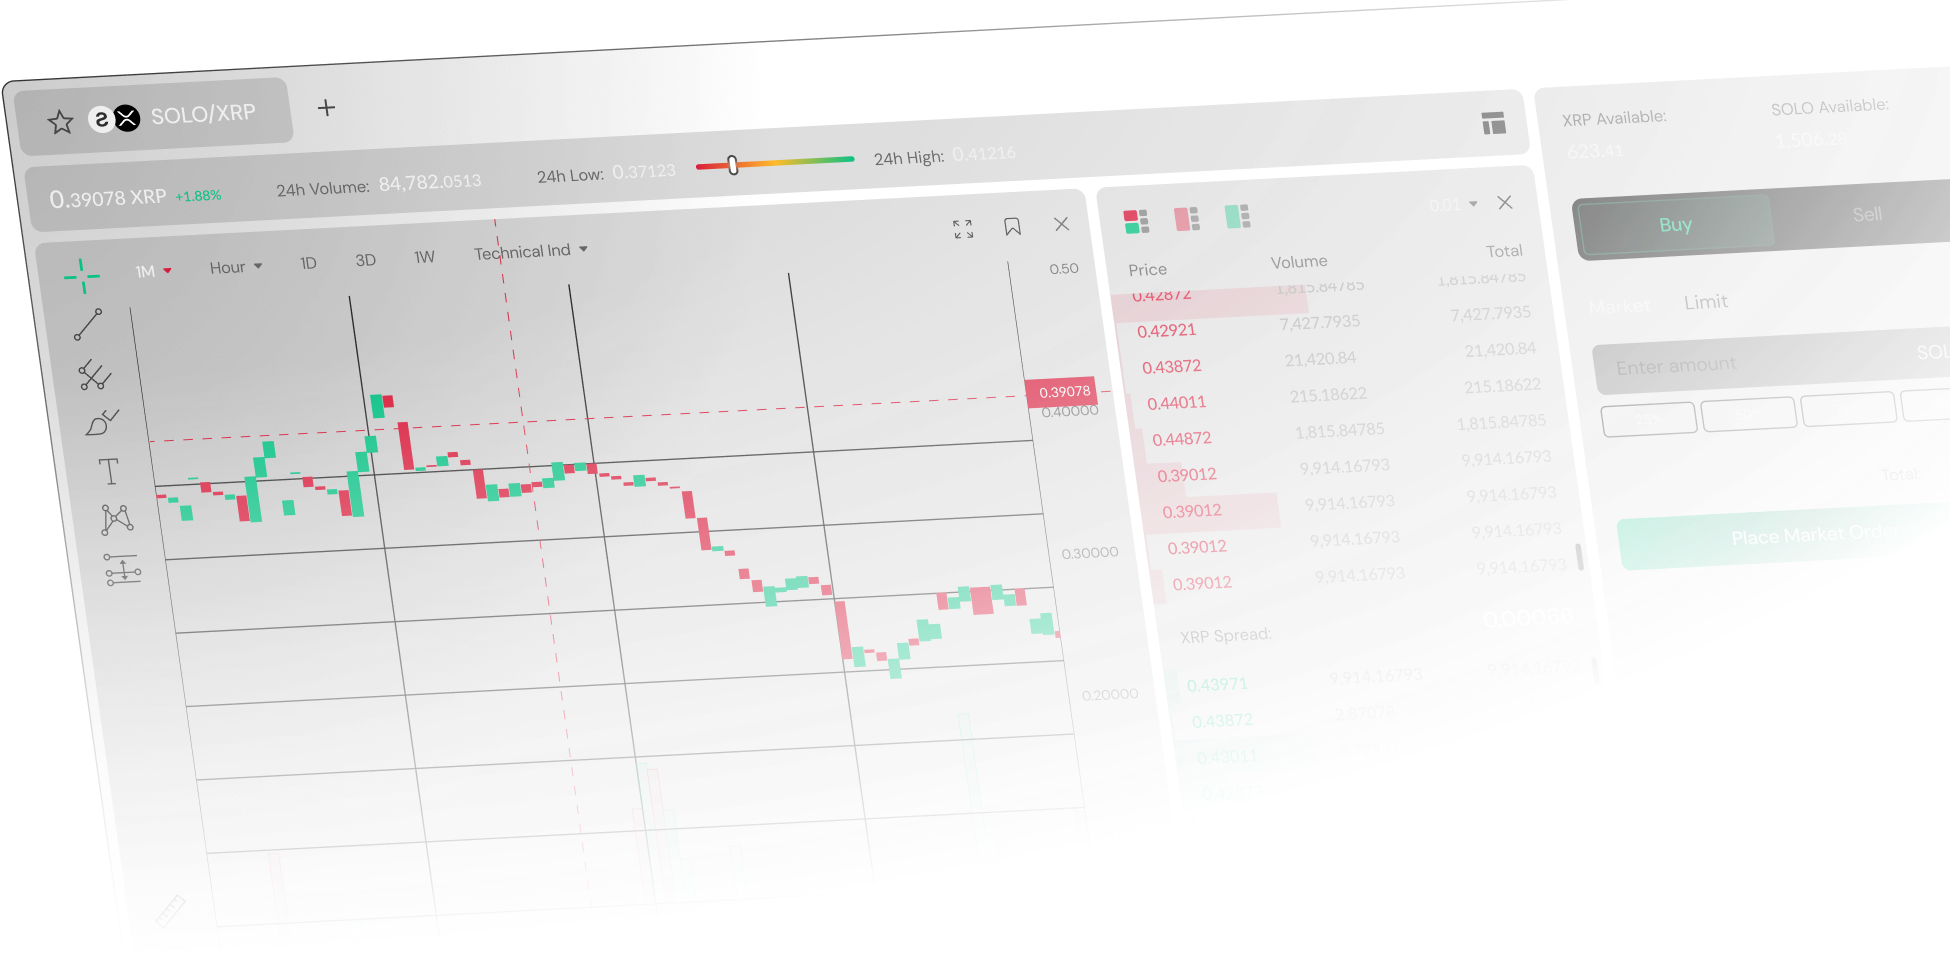
How to trade on Sologenic DEX
A step-by-step beginner’s guide on how to start trading on Sologenic DEX.
FAQ
How to sign a transaction using the SOLO DEX App?
Can I reset my wallet password on the app if I lost/forgot it?
password, you will have to remove the wallet and add it again using the 12 keywords you were provided with when you created your account in the first place.
What is a TrustLine?
accounts. It also allows accounts to set up a limit on the currency they wish to hold.
How to establish a Trustline with Sologenic
traded/exchanged on the XRP Ledger Built-in Decentralized Exchange. There are two types of Trustlines in the XRP Ledger,
a regular one-way Trustline, and an Authorized two-way Trustline. Sologenic, requires an Authorized Trustline to allow assets
to be withdrawn from the platform.
To withdraw your tokenized assets from Sologenic, you need to set up a Trustline from your personal wallet to Sologenic
(Issuer) and request Sologenic gateway to Authorize this Trustline once it is established.
Follow the instructions on the following link to set up a Trustline to Sologenic for a particular asset.
What permissions does the SOLO DEX ask from your OS (Android / iPhone) and why?
under any circumstances, collects personal information.
Having said that, the SOLO DEX app for Android and iOS needs the following components for optimal functioning:
How to find the transaction ID of a transaction?
page if you are using Desktop, and under "My Trade History" inside the DEX window if you are using the SOLO DEX App.
Click on any transaction, and a window will pop up redirecting you to bithomp.com. Here you will be able to see the transaction ID and other details such as the XRPL fee.
Why if I have SOLO, I can't receive SOLO?
To check and modify the limit of your SOLO Trustline, go to the Assets section on your Wallet and click on the "Edit" button, and modify the amount freely.
In case you have not activated your SOLO account it will show as "Not Activated" on the Assets window. At this point you
need to make a Trustset transaction. The amount depends on the XRP Ledger fee at the moment. However, to make it
easier for users of the SOLO DEX app, you can simply click on activate, and as long as you have more than 14 XRP your
SOLO Wallet has been activated.
What is (and how much is) the XRP ledger account reserve?
At the moment it's 10 XRP.


